POV Globe
Overview
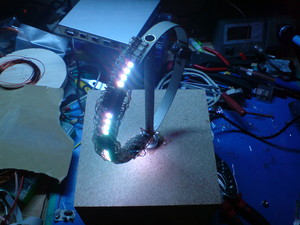
A POV globe display with 40 RGB LEDs.
On this page I will try to show you the features and how I built it. Please note that this page should not be considered as a step by step tutorial.
Deutsche Beschreibung: auf mikrocontroller.net
Animations/Effects
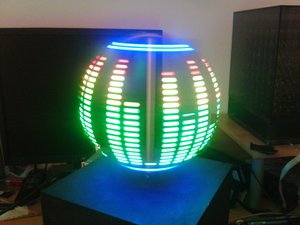
Here are just some of the effects I wrote for the globe. Youtube link
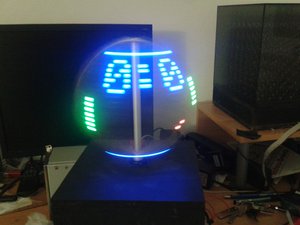
- animated text: there are several text animations with different colors, rotation speed etc.
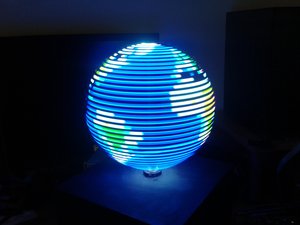
- earth map: of course, a globe should feature an earth map. I wrote an image converter for this
- Pong: a simple version of Pong with 2 AI players
- Pacman: a Pacman eating dots around the globe
Construction
Rotor
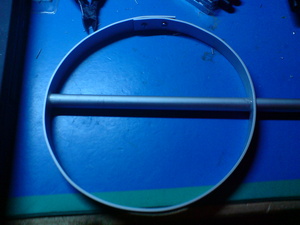
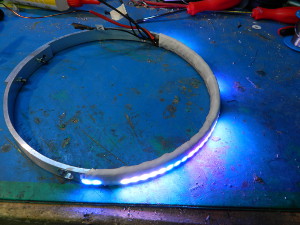
Let's start with the rotor. It is made of a 15mm aluminium bar and a 12mm aluminum tube.
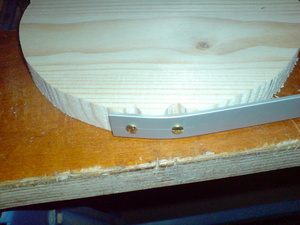
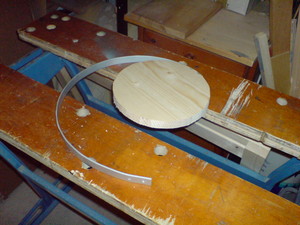
The diameter of the rotor is about 200mm, so I cut a fitting slice of wood. The ends should overlap some cm so they can screwed together. I also cut some smaller slices for bending, until the diameter of the rotor after bending was ok and without tension (important because of the 2 holes).
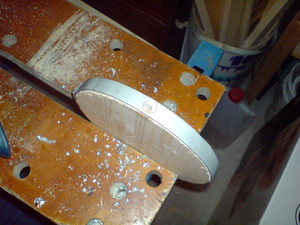
After that, I fit the ring onto the 200mm wood slice and drilled the 12mm holes for the tube. The tube is about 300mm long, just long enough for mounting 2 ball bearings, the controller pcb and the sliding contact.
Both parts were glued together with epoxy.
LEDs and shift registers
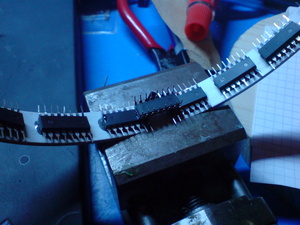
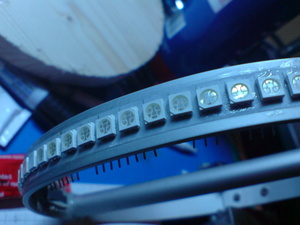
The LEDs are SMD RGB LEDs (5050,PLCC6), these LEDs are bright and have 3 seperated anodes and cathodes. I used 15 74HC595 shift registers, 5 in series for each color. Each register can take up to 70mA on the Vcc and GND pins, so if I want to drive the LEDs with nearly 20mA I have to connect 4 LEDs common anode and 4 common cathode to each register.
This leads to 2 things: since I reversed the pins this by rotating the LEDs by 180deg, the green and blue pins are flipped. Second, 4 LEDs are active high, 4 are active low. You have to take care of this in the software.
See the rotor schematic (in the .tgz) for the wiring of 8 LEDs, the whole unit is used 5 times and the registers are connected in series (for each color).
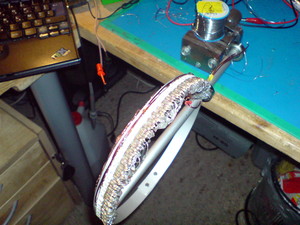
The supply and bus lines can be passed through 2 holes inside the tube. After mounting, connecting and testing everything I used a large amount of epoxy to cast everything and make it rugged. Note: SMD resistors would be a better choice.
Motor
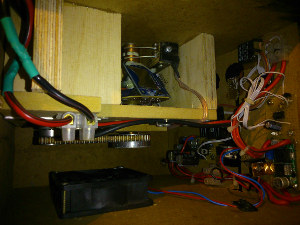
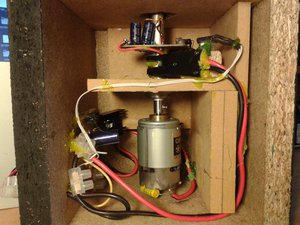
The motor is a Speed 700 type 12V DC motor, controlled with a simple PWM circuit to reach a rotational frequency of 20-25Hz. A feedback loop is not neccessary since the display controller can sync itself. The speed is adjustable via 4 DIP switches in the newer version. Something I noticed with computer PSUs is that some of them need a quite high base load at 5V to supply a stable output at 3.3V.The motor needs active cooling.
Power Supply
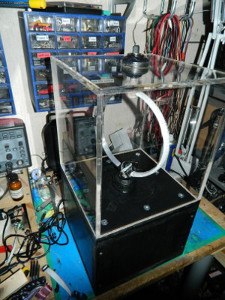
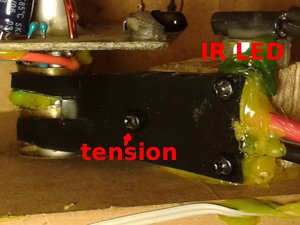
On the picture you can see a very simple sliding contact, a plastic part pressing 2 metal contacts agains 2 rings which are mounted on the rotor tube. I used a 5V 15A PSU from an old computer in the first version and a 16V Laptop adaptor with a switching mode power supplies in the newer one. In the picture above you can also see a small delay circuit to speed up the rotor first before giving power to the controller (prevents brown outs due to the sliding contact).Controller Board
The controller board is very simple. The ATMega644, some capaciators to stabilize the power supply (sliding contact!), and a dual opamp to amplify a photodiode. This diode is used to detect the zero position and also control the refresh rate.Schematics and pcb layout are included in the .tgz. Please note that the component placement is seen from the copper side, I only mirrored the parts where it matters.
The labels in the rotor schematic show the name of the right controller pin, too.
Software
The Software is written for avr-gcc with avrlibc and make.I use an array: uint8_t globe[80][5][3] as the display buffer. The first value is the x/longitude position, the second one the vertical line (like a graphic LCD), the third one is the RGB color index. Each byte in this array are the vertical pixels on this position (again like a graphic LCD).
The actual image generation is done by two ISRs. One timer ISR with variable cycle duration, it contains a counter which counts 4 times faster than the output function is called. Another (external) ISR is triggered when the rotor reaches zero position. This routine resets the counter and also sets the refresh rate by checking the value in the counter.
The output function just pushes the current logitude into the shift registers.
Image Converter
I wrote an image converter for perl and imagemagick which converts a 80x40 bitmap to a header file which will store it in the flash. One image will need a little more than 1.2k of flash.Please note that this script is a quick and dirty hack, don't expect any error checking.
You can set the threshold values for each color in the script, this is important since the globe supports binary color values only.
The converter will also generate an image that allows you to check the thresholds without uploading the file.


